 listicle
7 Best Table Tennis Drills for Improving Ball Placement
Table of Contents
- Why Ball Placement Drills Beat Power Training
- Table Tennis Target Drills for Pinpoint Accuracy
- Table Tennis Solo Practice Drills You Can Do Without a Partner
- Table Tennis Drills for Beginners: Build Placement Before Speed
- Footwork and Recovery: The Hidden Key to Consistent Placement
- Table Tennis Training Equipment for Small Spaces
- Placement Under Pressure: Match-Like Drills That Transfer
- Common Placement Errors and How to Fix Them
- Frequently Asked Questions
Last Updated: October 17, 2026
Why Ball Placement Drills Beat Power Training
The best table tennis drills for improving ball placement share one trait: they force you to aim, not just swing. Power wins the occasional highlight point. Placement wins games, because a slow ball into an open corner beats a fast ball returned by a well-positioned opponent.
That's the throughline of this guide. Every drill below trains ball placement as a deliberate skill with a target, a repetition count, and a way to measure whether you're improving. We'll cover target drills, solo practice, footwork, and pressure situations. None of them require a coach with a bucket of balls, though a partner helps.
Table Tennis Target Drills for Pinpoint Accuracy
Table tennis target drills work by shrinking the acceptable landing area. Place cones, towels, or paper plates on the far side of the table and count only shots that land inside them. Start with half-table zones, then narrow to a quarter, then to a single corner.
The Three-Zone Target Drill
Divide the opponent's side into three zones: left corner, middle, and right corner. Feed yourself or have a partner feed ten balls to your forehand. Your job is to land three balls in each zone in sequence. Count successful placements out of ten. A common mistake is aiming with the arm alone; the wrist and racket angle do most of the placement work. Repeat the set on your backhand side.
Crosscourt and Down-the-Line Placement Drill
Set two targets: one deep crosscourt, one down the line. Alternate ten forehand shots between them, calling the target before each swing. This trains the forehand-backhand combination thinking that match play demands, and it exposes how much your contact point drifts when you change direction. If shots spray wide, slow the swing down until placement stabilizes.
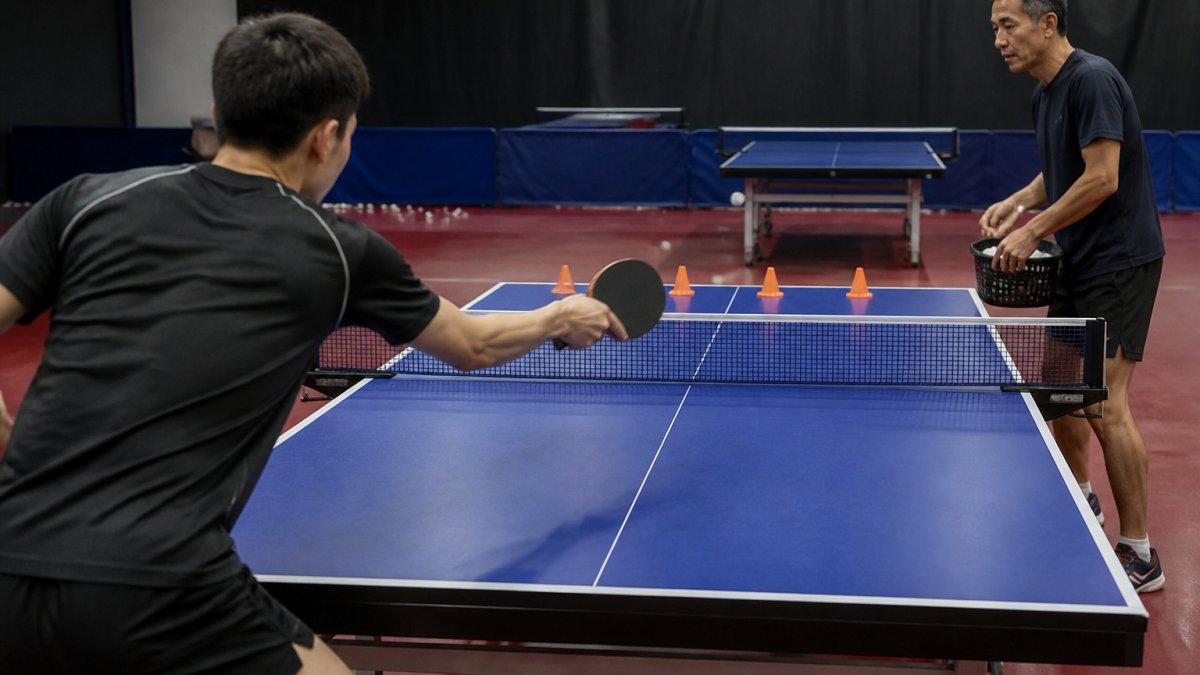
Table Tennis Solo Practice Drills You Can Do Without a Partner
Solo practice drills build the racket control and contact consistency that placement depends on. You don't need a robot or a partner for the two below, just a racket, a ball, and a table edge or floor space.
Racket-Bounce Control Drill
Bounce the ball on your racket face fifty times without letting it drift above eye level or below waist height. Then do fifty bounces alternating forehand and backhand faces. The goal is a flat, repeatable contact point. Players who can't control a bounce won't control a placement.
Serve Placement Drill
Serve twenty balls into a single half of the opponent's court, then into a single corner. Count how many land in the target zone. Short serves that land within a hand's width of the net are the hardest to attack, so practice both short and long placements. This drill also sharpens your toss and contact timing.
Table Tennis Drills for Beginners: Build Placement Before Speed
Beginners should learn placement before power, because a controlled slow ball teaches contact point and racket angle faster than a fast one. Start with the racket-bounce drill for a week, then add static target drills where you hit ten balls to one zone without moving your feet. Only add footwork once you can land seven of ten in a half-table zone. Speed comes later, and it comes faster when the foundation is placement.
Footwork and Recovery: The Hidden Key to Consistent Placement
Footwork and recovery decide whether your placement holds up under pressure. You can have perfect racket angle standing still, then lose it the moment you have to move. Practice side shuffles between two cones set a racket-length apart, then add a crossover step for wide balls. After every shot, push back to your ready position. A common error is admiring your own shot instead of recovering; the recovery step is what lets you place the next ball.
| Drill | Focus | Reps | Success Target |
|---|---|---|---|
| Three-zone target | Forehand/backhand accuracy | 10 per zone | 7 of 10 in zone |
| Crosscourt/down-the-line | Direction change | 20 alternating | 14 of 20 on target |
| Racket-bounce control | Contact consistency | 50 bounces | No drift above eye level |
| Serve placement | Short/long serves | 20 serves | 15 in target half |
| Side shuffle + recovery | Footwork to ready position | 30 seconds x 4 | Return to center each rep |
Table Tennis Training Equipment for Small Spaces
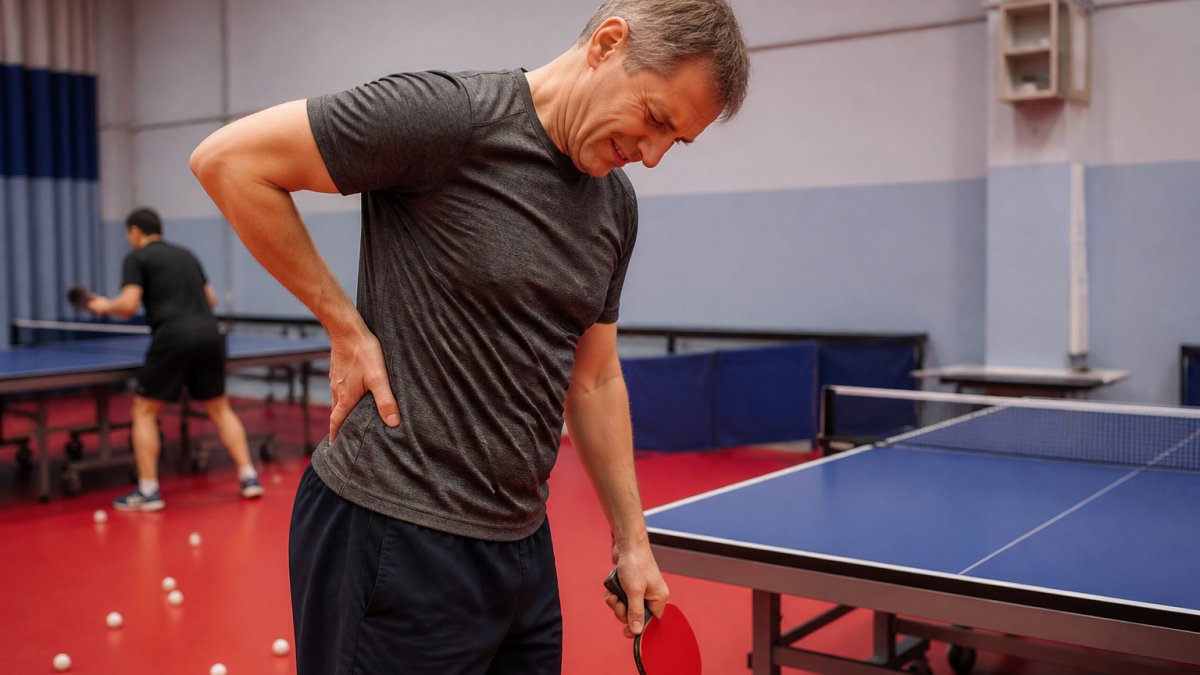
Small spaces demand equipment that stores flat and cleans up fast. A robot or a partner feeding multiball creates a floor full of balls within minutes, and picking them up by hand wrecks your back and eats practice time. This is where MyPingPongBuddy earns its place: a handmade scoop that collects balls without bending, breaks in half for storage, and is backed by a 90-day full refund policy. Coaches and club managers use it to keep sessions moving. Combine it with a folded table, a robot on a compact stand, and a wall target, and you have a full training setup in a garage or spare room.
Placement Under Pressure: Match-Like Drills That Transfer
Match-like drills add a consequence to every shot, which is how placement transfers from practice to competition. The mistake most players make is jumping from blocked target practice straight into a full game, where placement collapses because the decision comes too late. Build pressure in stages, and give each stage a score so you can tell whether the skill is holding.
Stage 1: Predictable Feed, Called Target
A partner feeds ten balls to your forehand at a steady pace. Before each feed, the feeder calls the target, wide forehand, down the line, or crossover. You have to place the ball in the called zone. Score 7 of 10 before moving on. This is still low pressure, but the called target forces a decision before contact rather than after.
Stage 2: Random Feed, Called Target
The feeder now varies placement and pace without warning, still calling your target before each ball. The added variable is movement: you must arrive, read the ball, and still aim. Drop the threshold to 6 of 10. Most players find their contact point drifts when they have to move first, which is exactly the error the drill is designed to expose.
Stage 3: Random Feed, Late Call
The feeder calls your target only after the ball leaves their racket. Now you are reading and deciding in the same window a match gives you. Threshold: 5 of 10. This stage is uncomfortable by design; if it feels easy, the feeder is calling too early.
Stage 4: Serve-and-Third-Ball Patterns
Placement in a match usually starts with the serve. Serve short to the forehand, then attack the third ball down the line; serve long to the backhand, then go wide to the forehand. Run each pattern twenty times and count how many third balls land in the intended zone. A common pattern is that players serve well but misplace the third ball because they are still recovering from the serve. The fix is to treat the serve and the recovery as one motion, so the third ball is hit from balance.
Stage 5: Conditioned Games
Play a conditioned game where you only score points by landing the ball in a designated corner, or where a missed target costs you a point against yourself. The pressure of a score changes your swing, and that is the point: you are training placement under the conditions that actually matter. Keep the condition narrow for a few games, then widen it so you are not gaming a single rule.
Choosing Targets by Situation
Placement tactics depend on where your opponent is and what they dislike. Aim wide to the forehand when the opponent has just recovered to the middle; aim at the crossover when they are drifting to one side; aim down the line when they have cheated crosscourt. Against a left-handed opponent, the crossover sits on the other side of the table, so the same drill targets flip. Watch the opponent's recovery step, not the ball, to decide where the open space is.
Random practice, where targets change every shot, beats blocked repetition for match transfer. Mix targets randomly at least once per session, and keep a written score for each stage so you can see whether placement is holding under pressure or only under repetition.
Common Placement Errors and How to Fix Them
The most common placement errors come from the body, not the racket. Hitting late, standing too upright, and gripping too tight all push the ball off target. Here's how we'd fix each:
- Late contact: Move earlier and watch the ball off your opponent's racket. Anticipation beats reaction.
- Standing tall: Bend the knees so your contact point stays at net height.
- Death grip: Loosen the grip to a 4 out of 10 and let the racket angle do the aiming.
- No recovery: Push back to ready position after every shot, even in drills.
- Ignoring the middle ball: Practice body balls too; they're the ones most players misplace.
Fix one error at a time over a week. Stacking corrections confuses the motor pattern you're trying to build.
Frequently Asked Questions
How often should I practice table tennis placement drills?
Aim for three to four short sessions per week, 20 to 30 minutes each, rather than one long session. Placement improves through repetition with feedback, so frequent, focused blocks beat occasional marathon practices. Alternate target drills with footwork and recovery work so your body learns to place the ball while moving. Track your hit rate in each target zone every couple of weeks; if accuracy stalls, reduce speed and increase the target size before pushing difficulty again.
How can I improve my accuracy in table tennis without a partner?
Use table tennis solo practice drills: bounce the ball on your racket edge to build control, serve into marked target zones, and practice shadow strokes with a consistent contact point. A robot or a ball rebound board adds realistic feeds when no partner is available. Set a measurable goal for each block, such as landing 7 of 10 serves in a single corner, and log your results so you can see progress over time.
What equipment helps with table tennis practice in a small space?
A compact robot, a rebound board, and foldable target cones cover most small-space needs. A ball scoop that breaks down in half, like the MyPingPongBuddy, keeps cleanup fast when your practice area is tight, and it removes the need to bend over repeatedly. Portable nets and corner targets also work well. Choose gear that stores flat or splits apart so your training corner stays usable between sessions.
Do target drills actually transfer to match play?
They do when you add pressure and movement. Static target drills build the contact point and racket angle; match-like drills with random feeds, consequences for misses, and recovery steps teach you to place the ball under stress. Practice both: spend the first half of a session on isolated target work and the second half on random placement with a partner or robot. That progression is what makes placement hold up in a real game.
What are the most common ball placement mistakes beginners make?
The biggest errors are watching the opponent instead of the ball, standing flat-footed after a stroke, and swinging harder when a shot misses. Beginners also aim at the middle of the table rather than a specific zone. Fix these by calling out your target before each shot, recovering to the ready position every time, and shrinking your target as accuracy improves. Slowing down is usually faster than adding power.
Placement drills only pay off if you can run enough repetitions, and that means less time chasing balls across the floor. MyPingPongBuddy makes cleanup effortless with a handmade scoop that eliminates bending, breaks down for tight storage, and comes with a 90-day full refund policy. Set up your targets, run the drills above, and let the scoop handle the mess. Get started with MyPingPongBuddy and spend your practice time on placement, not pickup.